Blog05 – Creation of joystick in VR
Jakub Platzek
Introduction
The purpose of this blog post is to navigate the reader through the process of joystick implementation, that can be used for different purposes such as forklift movement.
The process starts by creation of a scene that has all necessary game objects and components for building a VR application. In this instance, we will use a premade Sample Scene made by Unity as it includes all necessities. The scene can be found as part of “VR core” project in the Unity hub as can be seen below:

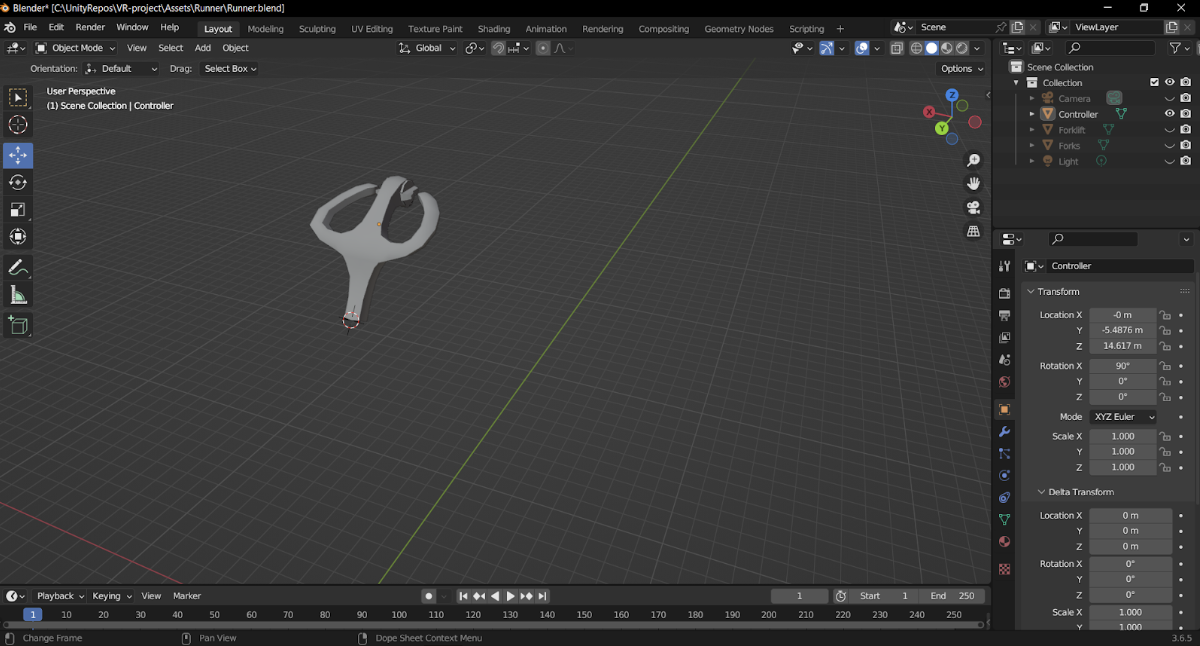
The next step will be the creation of the joystick prefab itself, either just a simple elongated cube that will function as a lever, or a more complex mesh. In this example we will use a mesh created in blender that represents a forklift controller as can be seen in the picture below.
Once the object with desired mesh has been made in the scene, there are 3 components required for proper functionality of the lever.
Collider
The first component necessary in this case is a collider that ensures that the Vr joysticks can detect the object. In this example, we use a Mesh collider as it follows the form of the imported mesh. The settings of the collider can be seen below:
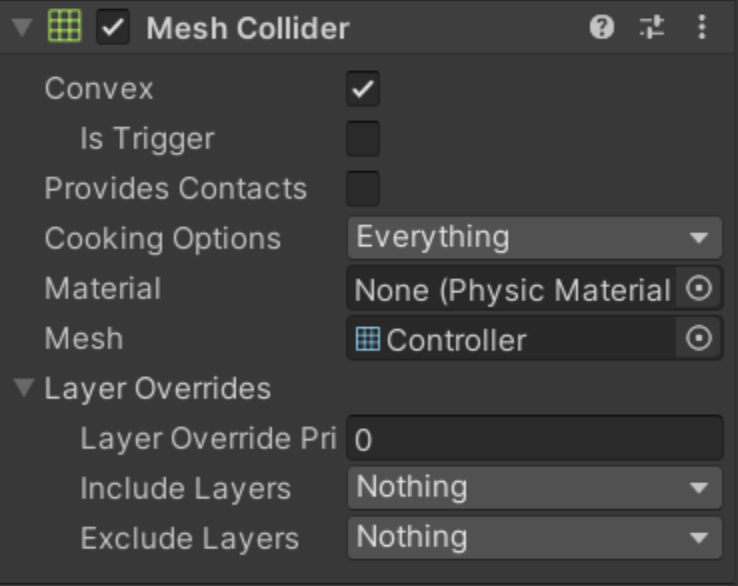
We leave the collision layer set to “Default” as we don’t need any additional layers for this example. We make sure as well that “is Trigger” is unchecked, as otherwise the controllers will not detect the mesh.
XR Grab interactable
The purpose of this component, as the name already suggests, is to allow interaction with a given mesh/object and being able to move it around or manipulate it in other manners. Once the component has been added, we make sure that we set the “Velocity scale” in the “Track position” section to 0.1 or lower, as otherwise grabbing of the object breaks its physics and it will be almost impossible to control the joystick properly when grabbed.
Hinge joint
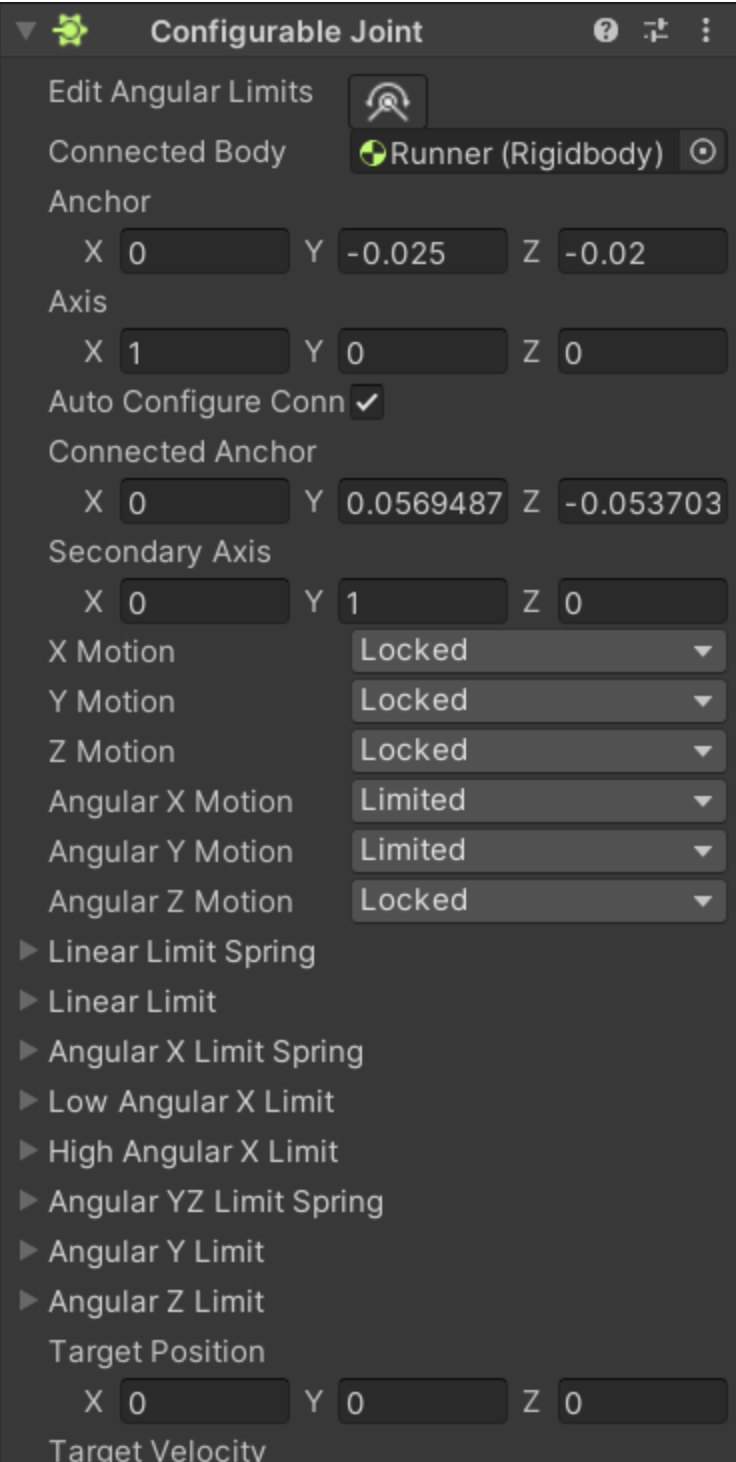
There are many different kinds of joints that can be added as components, each with its advantages and disadvantages. In case the joystick should be used as a lever i.e. using just one axis for rotation, Hinge joint would be a good choice. In our case, as we want the joystick to rotate in multiple axes, we choose a Configurable joint instead. In this example we want to be able to rotate the joystick only in X and Y direction, therefore we set “Angular Z Motion” to “Locked” and “Angular X Motion” and “Angular Y Motion” we set to either “Free” or “Limited”, depending if we want to limit the rotation of the joystick on these axes.
In case you would like to have the joystick connected to some other object, the other object will need to have some form of Rigidbody and be added in the “Connected body” property of the Configurable joint component.
The last step is to adjust the position of the joint itself to ensure that the object rotates properly when interacted with. The adjusting can be done in the “Anchor” section of the component as can be seen below:
Congratulations! Now you have a joystick that you can use for many different purposes!